
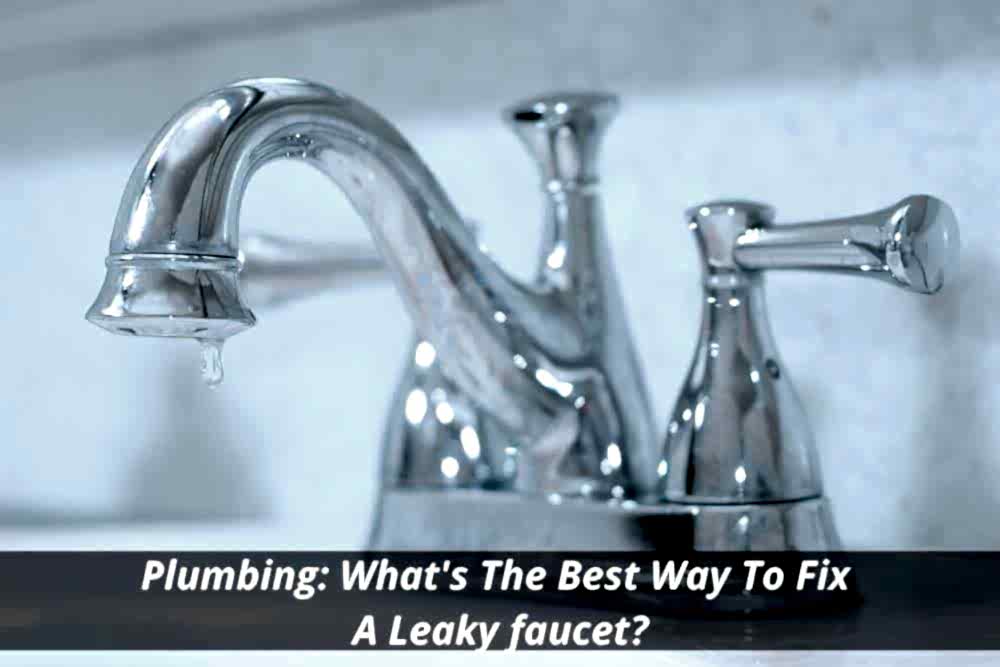
A dripping tap or showerhead that never stops running is annoying at best and downright dangerous at worst. How should you handle it? This blog will discuss Plumbing: What’s The Best Way To Fix A Leaky faucet? Learn more.
When your plumbing fails, sometimes it’s obvious – you see water pouring out from under the sink, your toilet overflows, or the water heater runs dry.
These are things you can easily take care of. But other times, it’s less apparent – maybe you don’t even notice the leak until you get home after a long day at work, or your pipes freeze during winter. Fixing leaks takes time, patience, and knowledge. Let us show you some ways to detect and repair them.
Leaks happen for various reasons, such as worn rubber washers or faulty pipe joints. Sometimes they are caused by poor installation or inadequate materials. Regardless of where the leak comes from, knowing these symptoms of a leak will save you from costly repairs in the future.
What causes leaky taps and how do they get fixed?
Repairing leaking taps can be caused for several reasons, including clogged pipes in your home’s plumbing system. If you’re experiencing an issue that needs some fixing, contact us today! We offer high-quality professional services at affordable prices. Our skilled technicians will arrive promptly at your location and perform the necessary work efficiently.
If you suspect that there might be a problem with the tap itself, check the washer first. This is usually located on top of the stem assembly. It is designed to keep debris out of the valve (this prevents things like hair and limescale from getting into the mechanism). If this seems to be dirty, then just replace the whole thing.
The stem assembly fits inside the body of the tap. You’ll need to unscrew two bolts holding the tap to the wall (if applicable) before you can remove the old one. Then simply slide the new part onto the hole, turn the screws back on and tighten them up.
If the washer looks clean but still doesn’t seem to be working properly, then either the O-ring has failed or something else has got stuck inside. A few drops of oil should help loosen it up. Once cleaned, reassemble the mixer tap carefully and test again. If all is well, move on to the next step.
How to stop a dripping faucet – Do I need a plumber?
Fixing dripping faucets is not difficult if done correctly, but it does require a bit more than what most homeowners have lying around their homes. Some of the tools required include; a wrench which could come from your local hardware store, a snake or flexible tubing called a “Plumber snake” (also found at your local hardware store), a plunger, a flashlight, and possibly some duct tape.
Depending on whether your ball faucet is dripping slowly or quickly, you may also want to purchase a pressure gauge. In many cases though, the cause of the drip is obvious and you can fix it yourself. If you’ve tried everything and nothing works, however, you may consider calling a plumber. There’s no shame in asking for help when you need it.
Where to start when fixing a dripping tap?
Start by turning off the main water shutoff valve before beginning any work. Next, disconnect the cold and hot supplies from the faucet, then turn off the breaker supplying power to the house. This helps ensure that you won’t damage anything while you attempt to fix the leak.
When you’ve turned off the power, look closely at the area surrounding the faucet repair. Is there any moisture or leakage anywhere nearby? If so, you probably have a slow drip somewhere in the home’s piping system. Look for signs of dampness, mould growth, or bubbling in areas near the faucet.
Also, examine the handles on cabinets and fixtures for signs of wear.
Are they lose, rickety, or hard to grasp? Try a small amount of soap and water to see if this improves the grip. Inspect the faucet’s base plate for dents or scratches. These are often indicative of leaks elsewhere in the plumbing system.
Use a flashlight to inspect the undercarriage of the fixture, as it will reveal cracks in the porcelain or other components of the faucet. If these areas appear damaged, call a professional to repair them.
Faucets tend to be pretty easy to fix. However, problems do arise. Common issues include worn parts, clogged filters, broken hoses, cracked ceramic disks, or even an issue with the valve stem.
To address such problems, we recommend contacting a plumber. They are trained in dealing with such situations and can effectively diagnose the source of the problem and take care of it.
How long will it take to repair a leaking faucet with new parts?
You have a leaky faucet that needs to be repaired. This means that there is leakage in your faucet at some point and this could be due to worn-out washers, bad connections, damaged pipes or other problems.
If you want to know how long it will take to fix your leaking faucet with replacement parts, then this article is for you. Here we will discuss all the steps involved in repairing a leaky faucet. So read on to find out exactly how long it takes to repair a leaking faucet.
Step 1: Turn Off Water Supply
The first step in repairing a leaking faucet is to turn off the main water supply. This should already be clear enough, but just in case you didn’t know, here’s a quick reminder. You must always turn off the main water line before doing any repairs. It doesn’t matter where the leak is coming from – either outside the house or inside the house – you must turn off the main water before starting any work.
If you don’t, then you run the risk of damaging something else. For example, if you were working on a pipe running under the kitchen faucet, then you might accidentally cut into one of the pipes leading to the city sewer. And if you cut into a pipe that leads to the sewer, you could cause sewage to spill into the basement. Not good!
So when you start up your repair tools, make sure that everything is turned off. Then simply walk away until the job has been completed. That’s right, you don’t need to stay around waiting for the water to stop dripping. There are plenty of things that you can do while you wait for the water to stop flowing.
Step 2: Unplug Faucet
When you turn off the main water, you also turn off the faucet itself. Now that you’re done with the main water, you can unplug the faucet. Once you’ve removed the plug, you can now safely remove the entire faucet assembly from its mounting.
Step 3: Remove the Handle
Once you’ve taken off the faucet assembly, you can remove the handle. The handle holds the faucet together, so once you’ve taken it off, the rest of the faucet comes apart easily.
Step 4: Disconnect Hose
Next, you need to disconnect the hose attached to the faucet. Again, this is simple, since you only need to pull the hose free of the faucet completely.
Step 5: Check Out the Undercarriage
When you’ve disconnected the hose and the faucet handle, you can finally look underneath the faucet. Your goal here is to check the plumbing system for leaks. Do this by looking for cracks or holes in the pipe. Once you spot these types of faucet damage, then you’ll need to replace them as soon as possible.
Step 6: Replace Parts
Now that you’ve checked out the plumbing system, you can go ahead and replace any parts that are damaged. For example, you may see that one of the rubber seals is torn or ripped. In that case, you’ll need a new seal.
As mentioned earlier, you can also replace the O-ring that connects the jumper valve stem to the faucet body. You can use a new O-ring during this repair. Just remember that the O-rings are designed to keep water pressure in the faucet. If they become too loose, then they won’t be able to properly hold up against the high pressures found in modern faucets.
As you perform each part of the repair process, you’ll learn more about what needs to be replaced. Keep in mind that it’s important to replace these items quickly because they tend to wear out over time.
Step 7: Reinstall the Faucet Assembly
After you’ve removed all of the parts, you can reassemble the faucet. To do this, you’ll first need to reconnect the hose to the faucet again. Then you’ll need to connect the O-ring to the valve stem before putting the whole thing back together.
Step 8: Test the Repair
After you’ve finished placing the faucet back together, you should test it to make sure that the repair went well. This will help ensure that you haven’t made any mistakes along the way.
You can now turn the water back on and see how it works. However, you shouldn’t leave the faucet turned on for long. Instead, just let remove the faucet sit there for a short period of time. When you’re done testing, you can shut off the water again and clean up the area where the faucet was installed.
Conclusion
Fixing a leaking faucet is pretty easy if you know what you’re doing. You might want to have a professional come out and take a look at the faucet to make sure that it’s working correctly. Otherwise, you could end up causing further damage to the faucet by trying to fix it yourself.
How To Repair A Leaking Tap?
If you want to fix the leaking tap washer you should first turn off the water supply, and then remove all the parts from the top and bottom of the faucet. After removing these two parts you need to loosen the retaining ring that holds them together.
Finally, you should remove the screws holding the compression faucet assembly to the sink and replace the old valve seat with a new one. It is recommended to change your shower head every 5 years or when the metal starts getting corroded. You should always try not to disturb the valve while changing the head. Once the head is changed you need to tighten the head down securely so that no water seeps through the broken piece.